Lemon Meringue Pie for National Pi Day
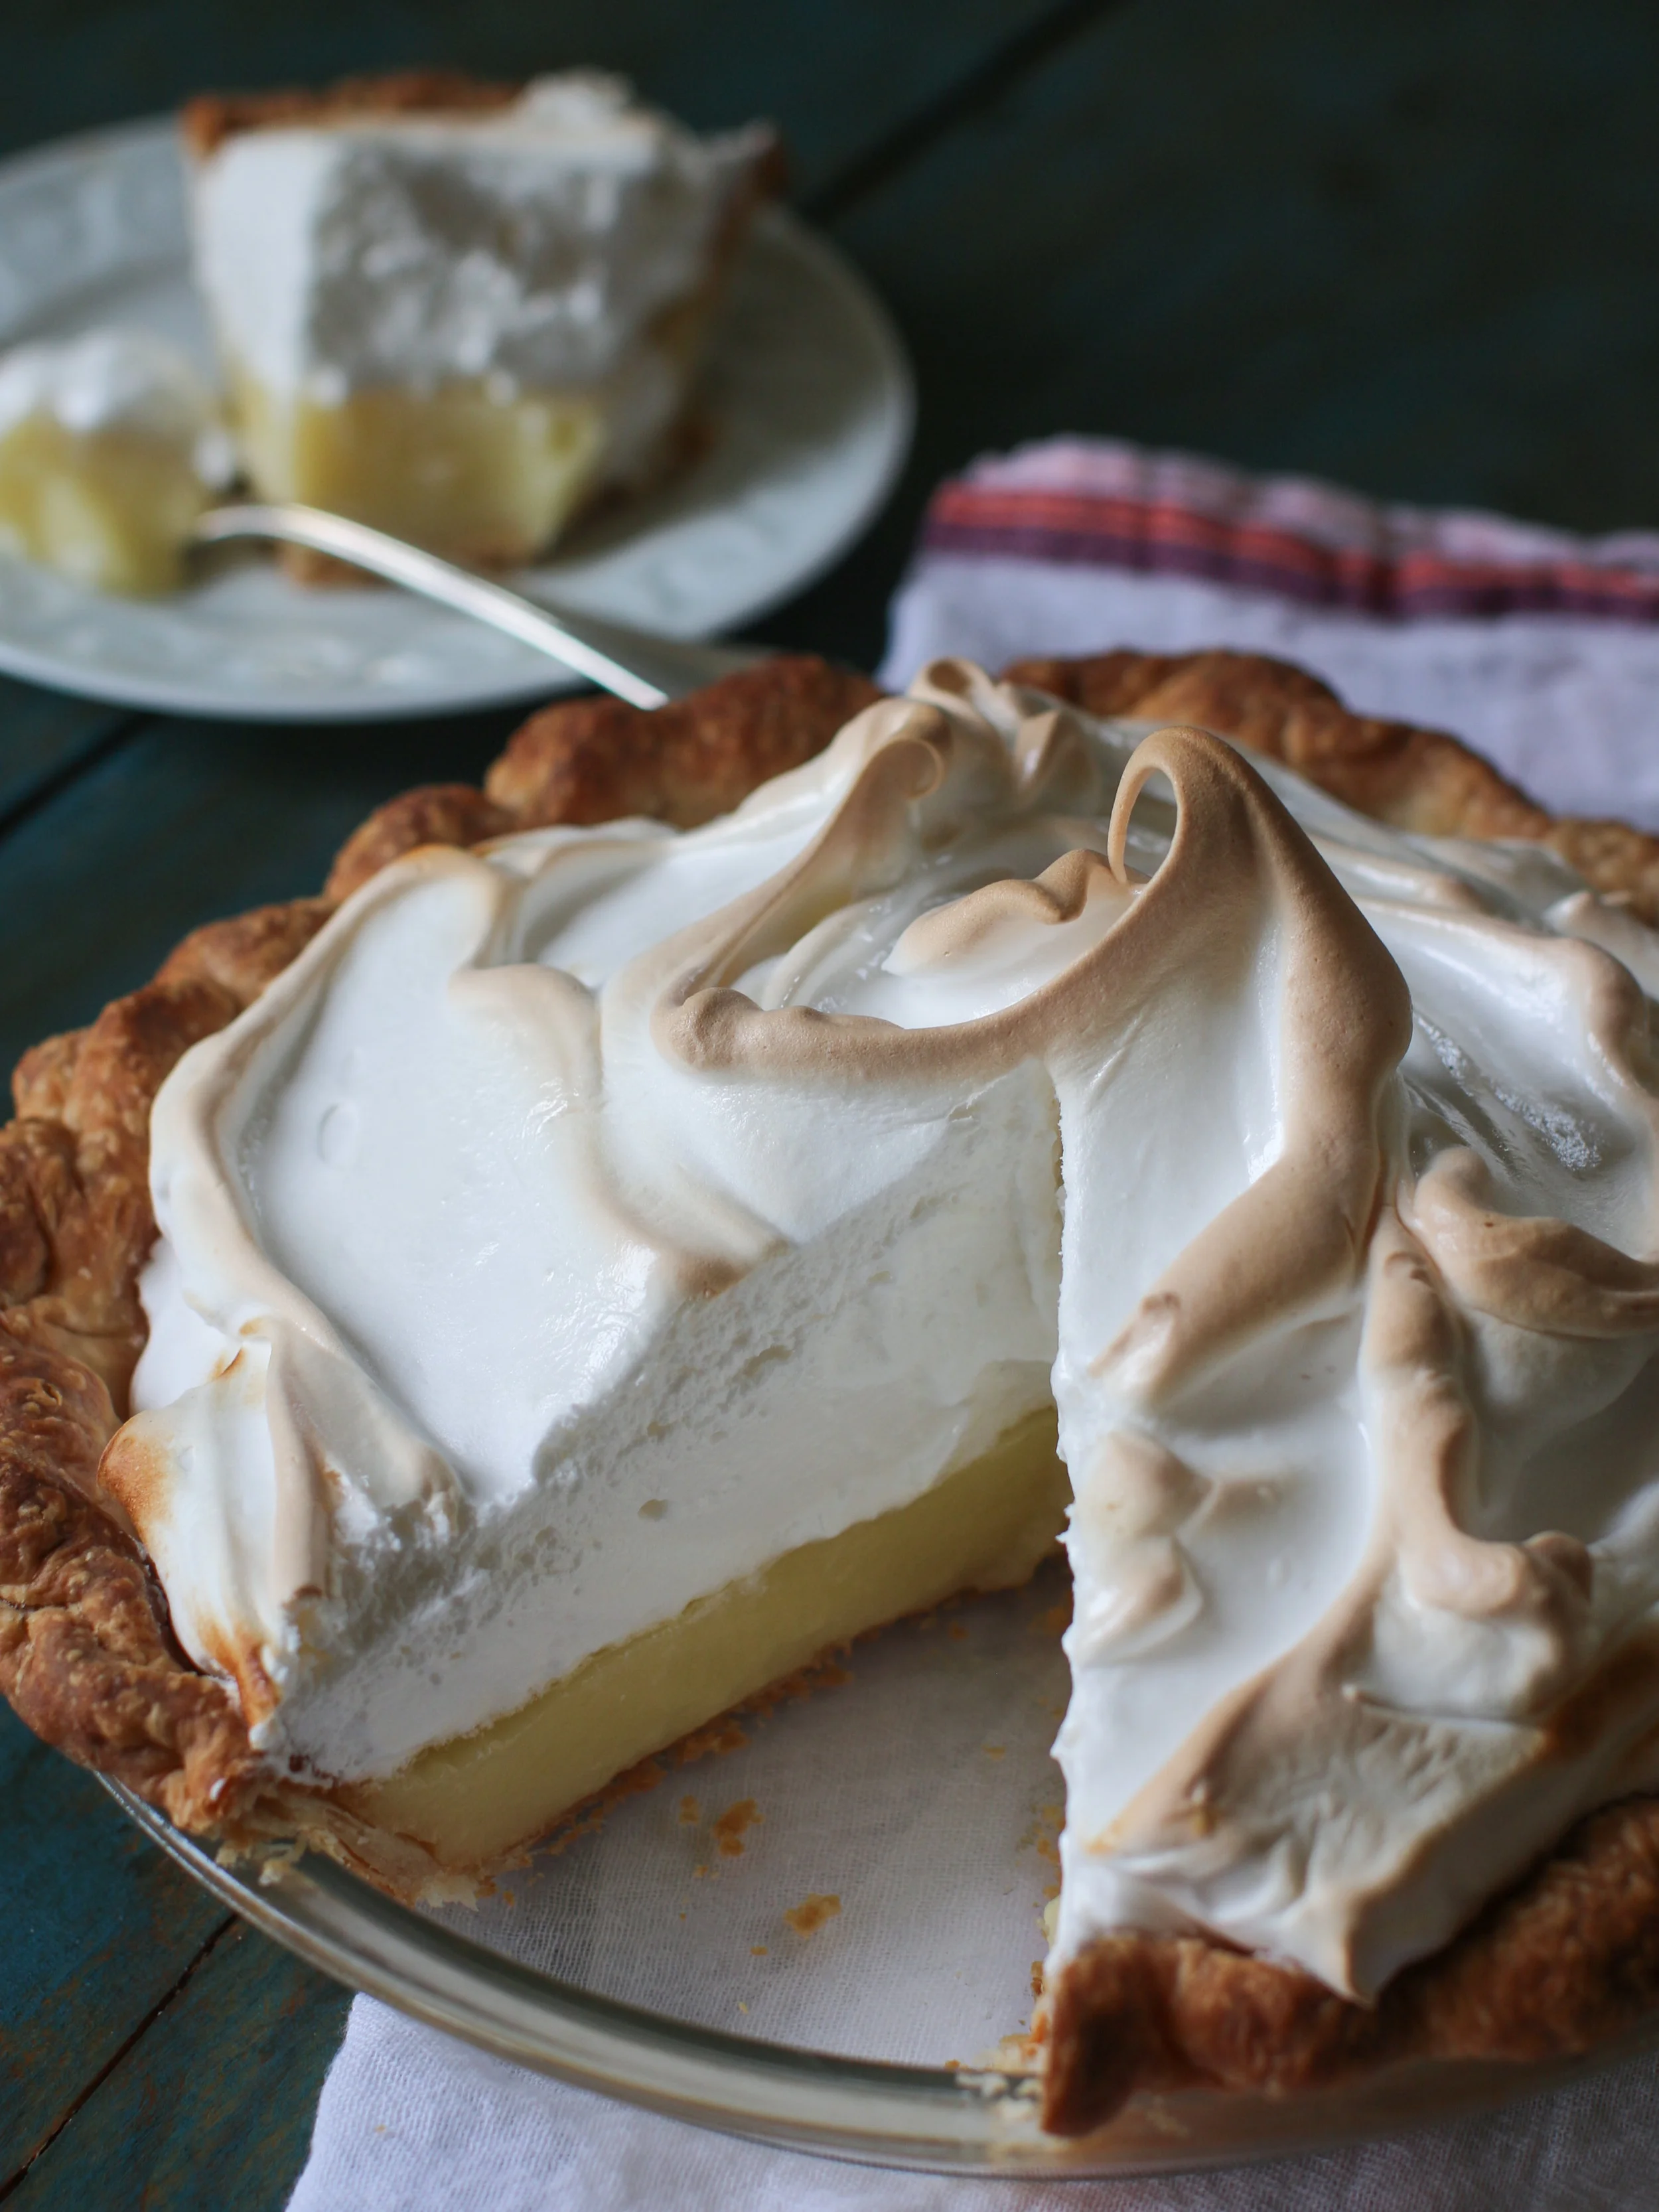
My Lemon Meringue pie is a classic citrus dessert that is topped with a toasted marshmallowy meringue, and has nearly driven me crazy! A few years ago, my aunt Odilia mentioned that she regretted not learning how to make her mother’s lemon meringue pie. After I asked her about 100 questions related to texture, method and so on, I began my quest to recreate her mother’s pie. Each time she’d visit, I’d have a new version. First the meringue was too weepy (droplets on the surface of the meringue). The next time she pointed out that the filling was too runny. This is where I became a lemon meringue detective. I began from the bottom up. My pastry crust recipe was developed with Dawn Perry during a seven-week recipe development class, so I knew that was sound. The filling ranged from a cornstarch thickened to flour thickened filling. It HAD to have zest in it because my aunt recalls zesting the lemons for her mother’s pie. Finally, I recreated the filling to my aunt’s approval.
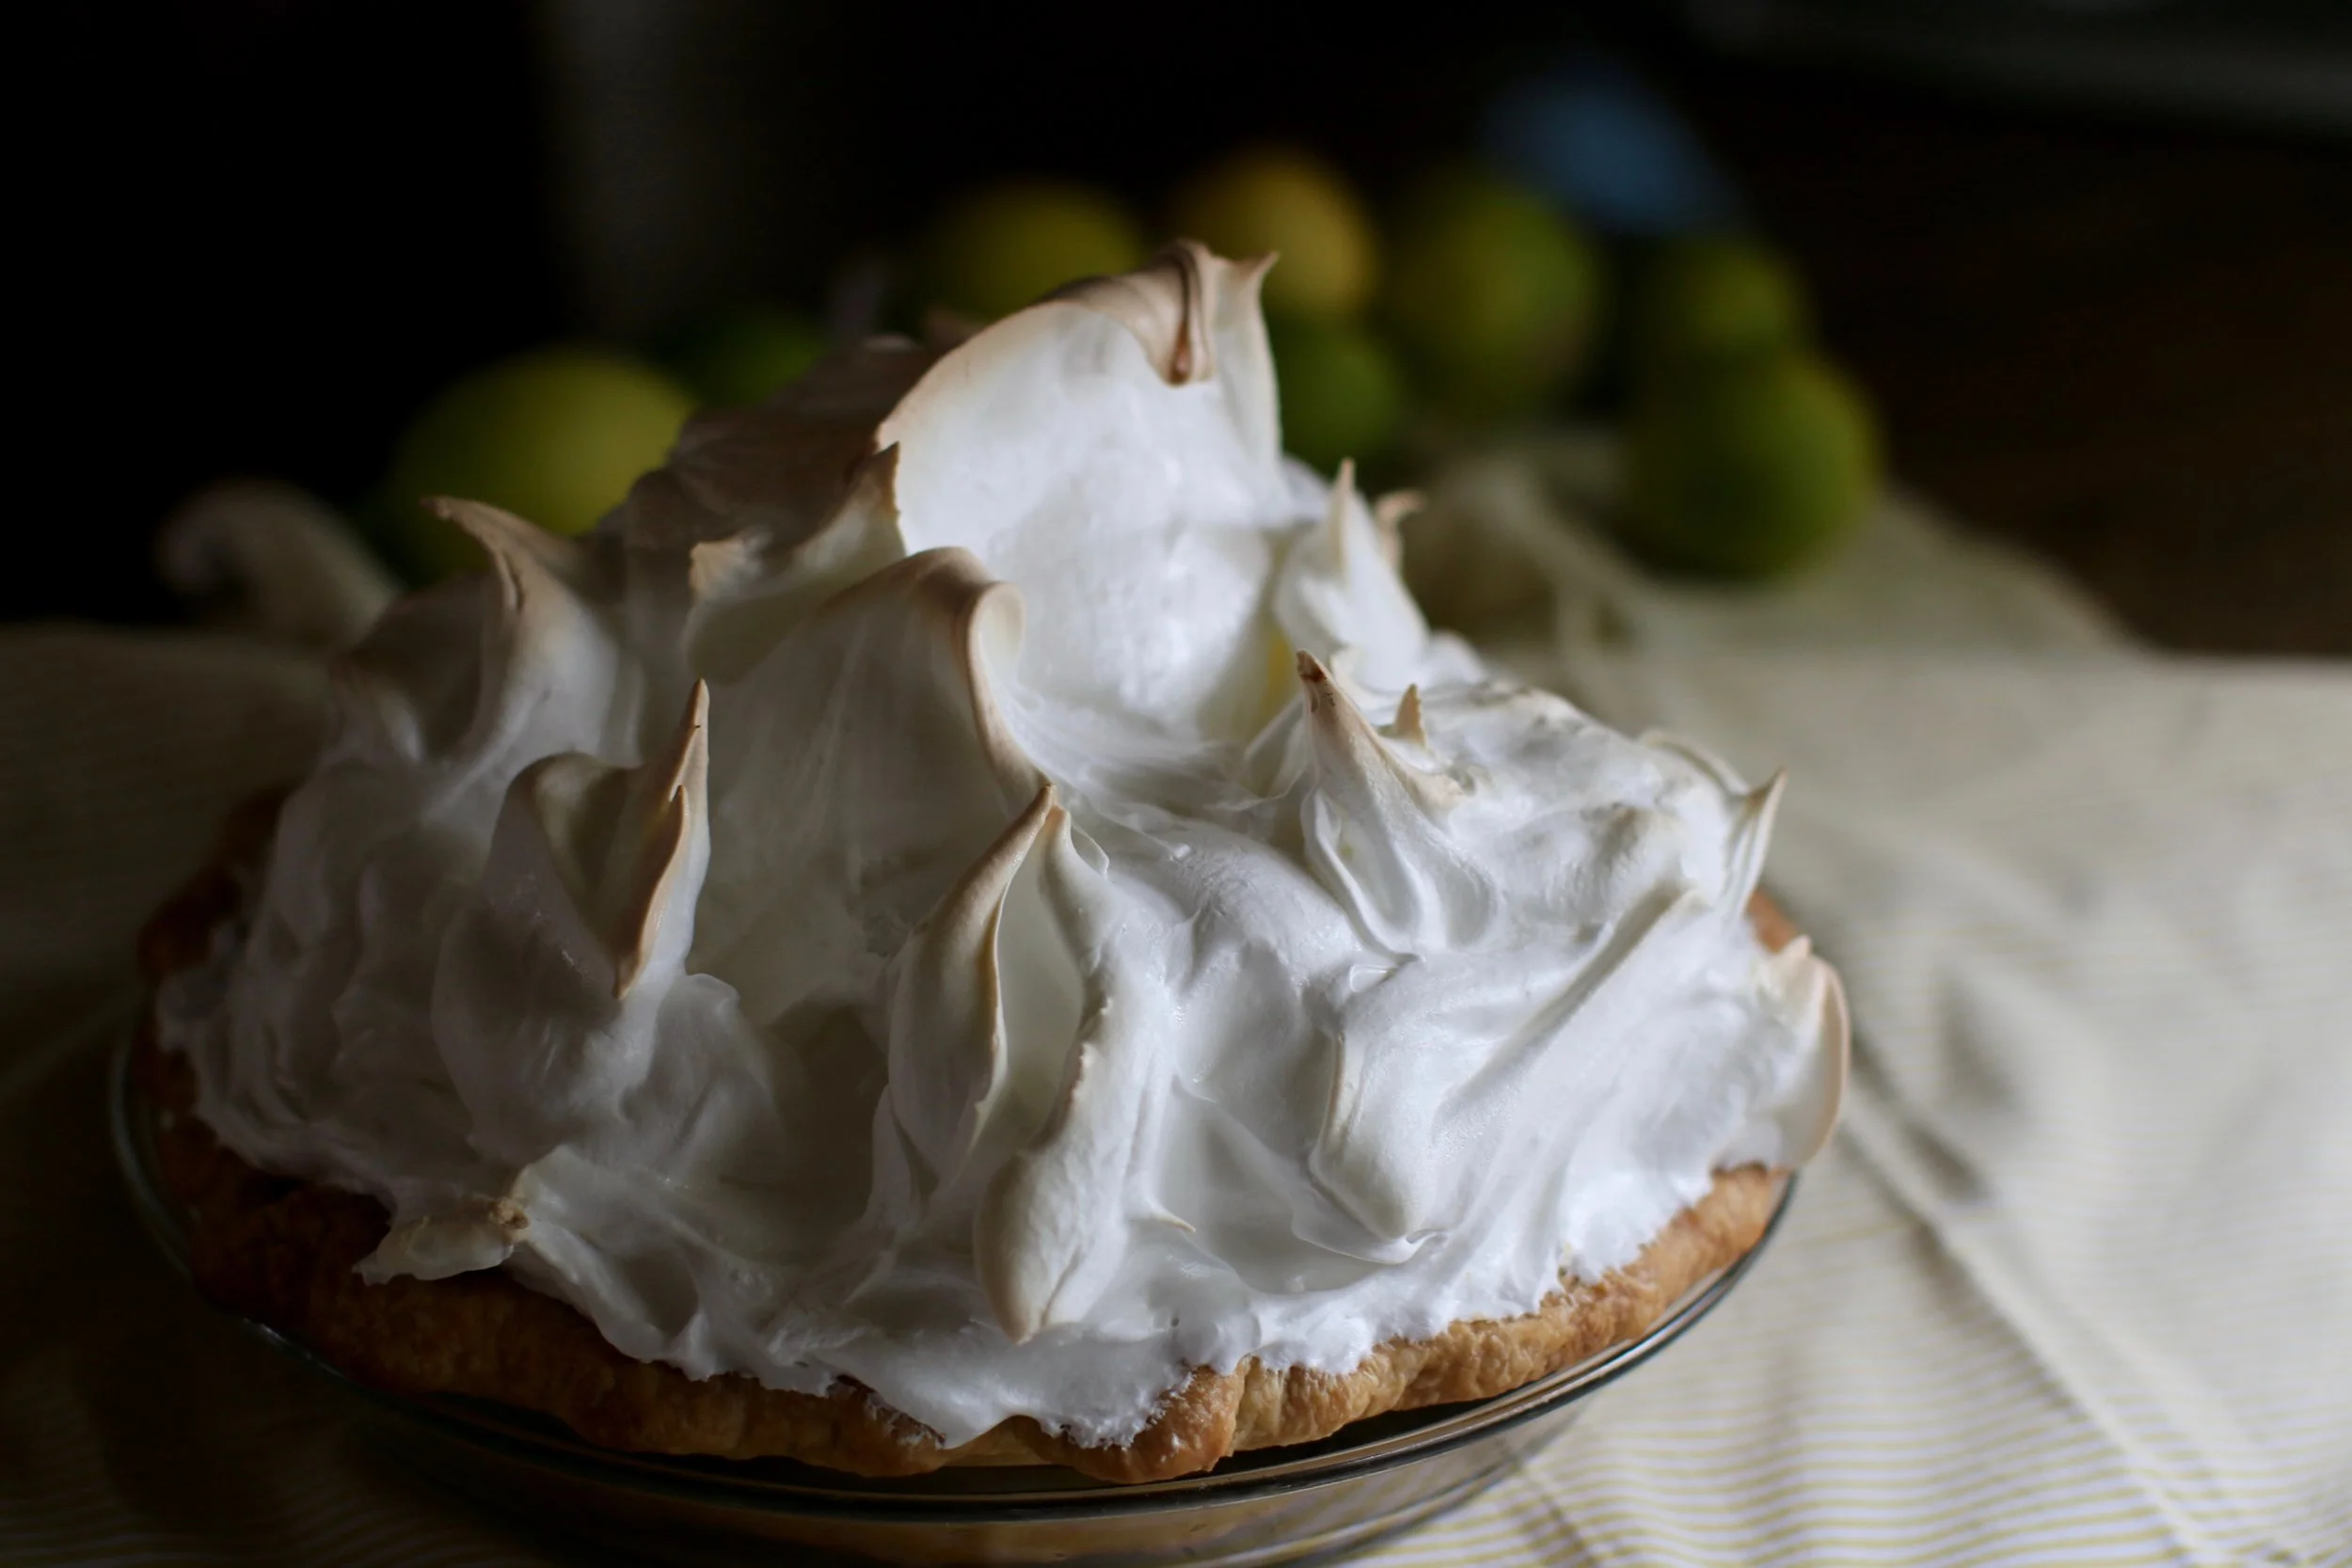
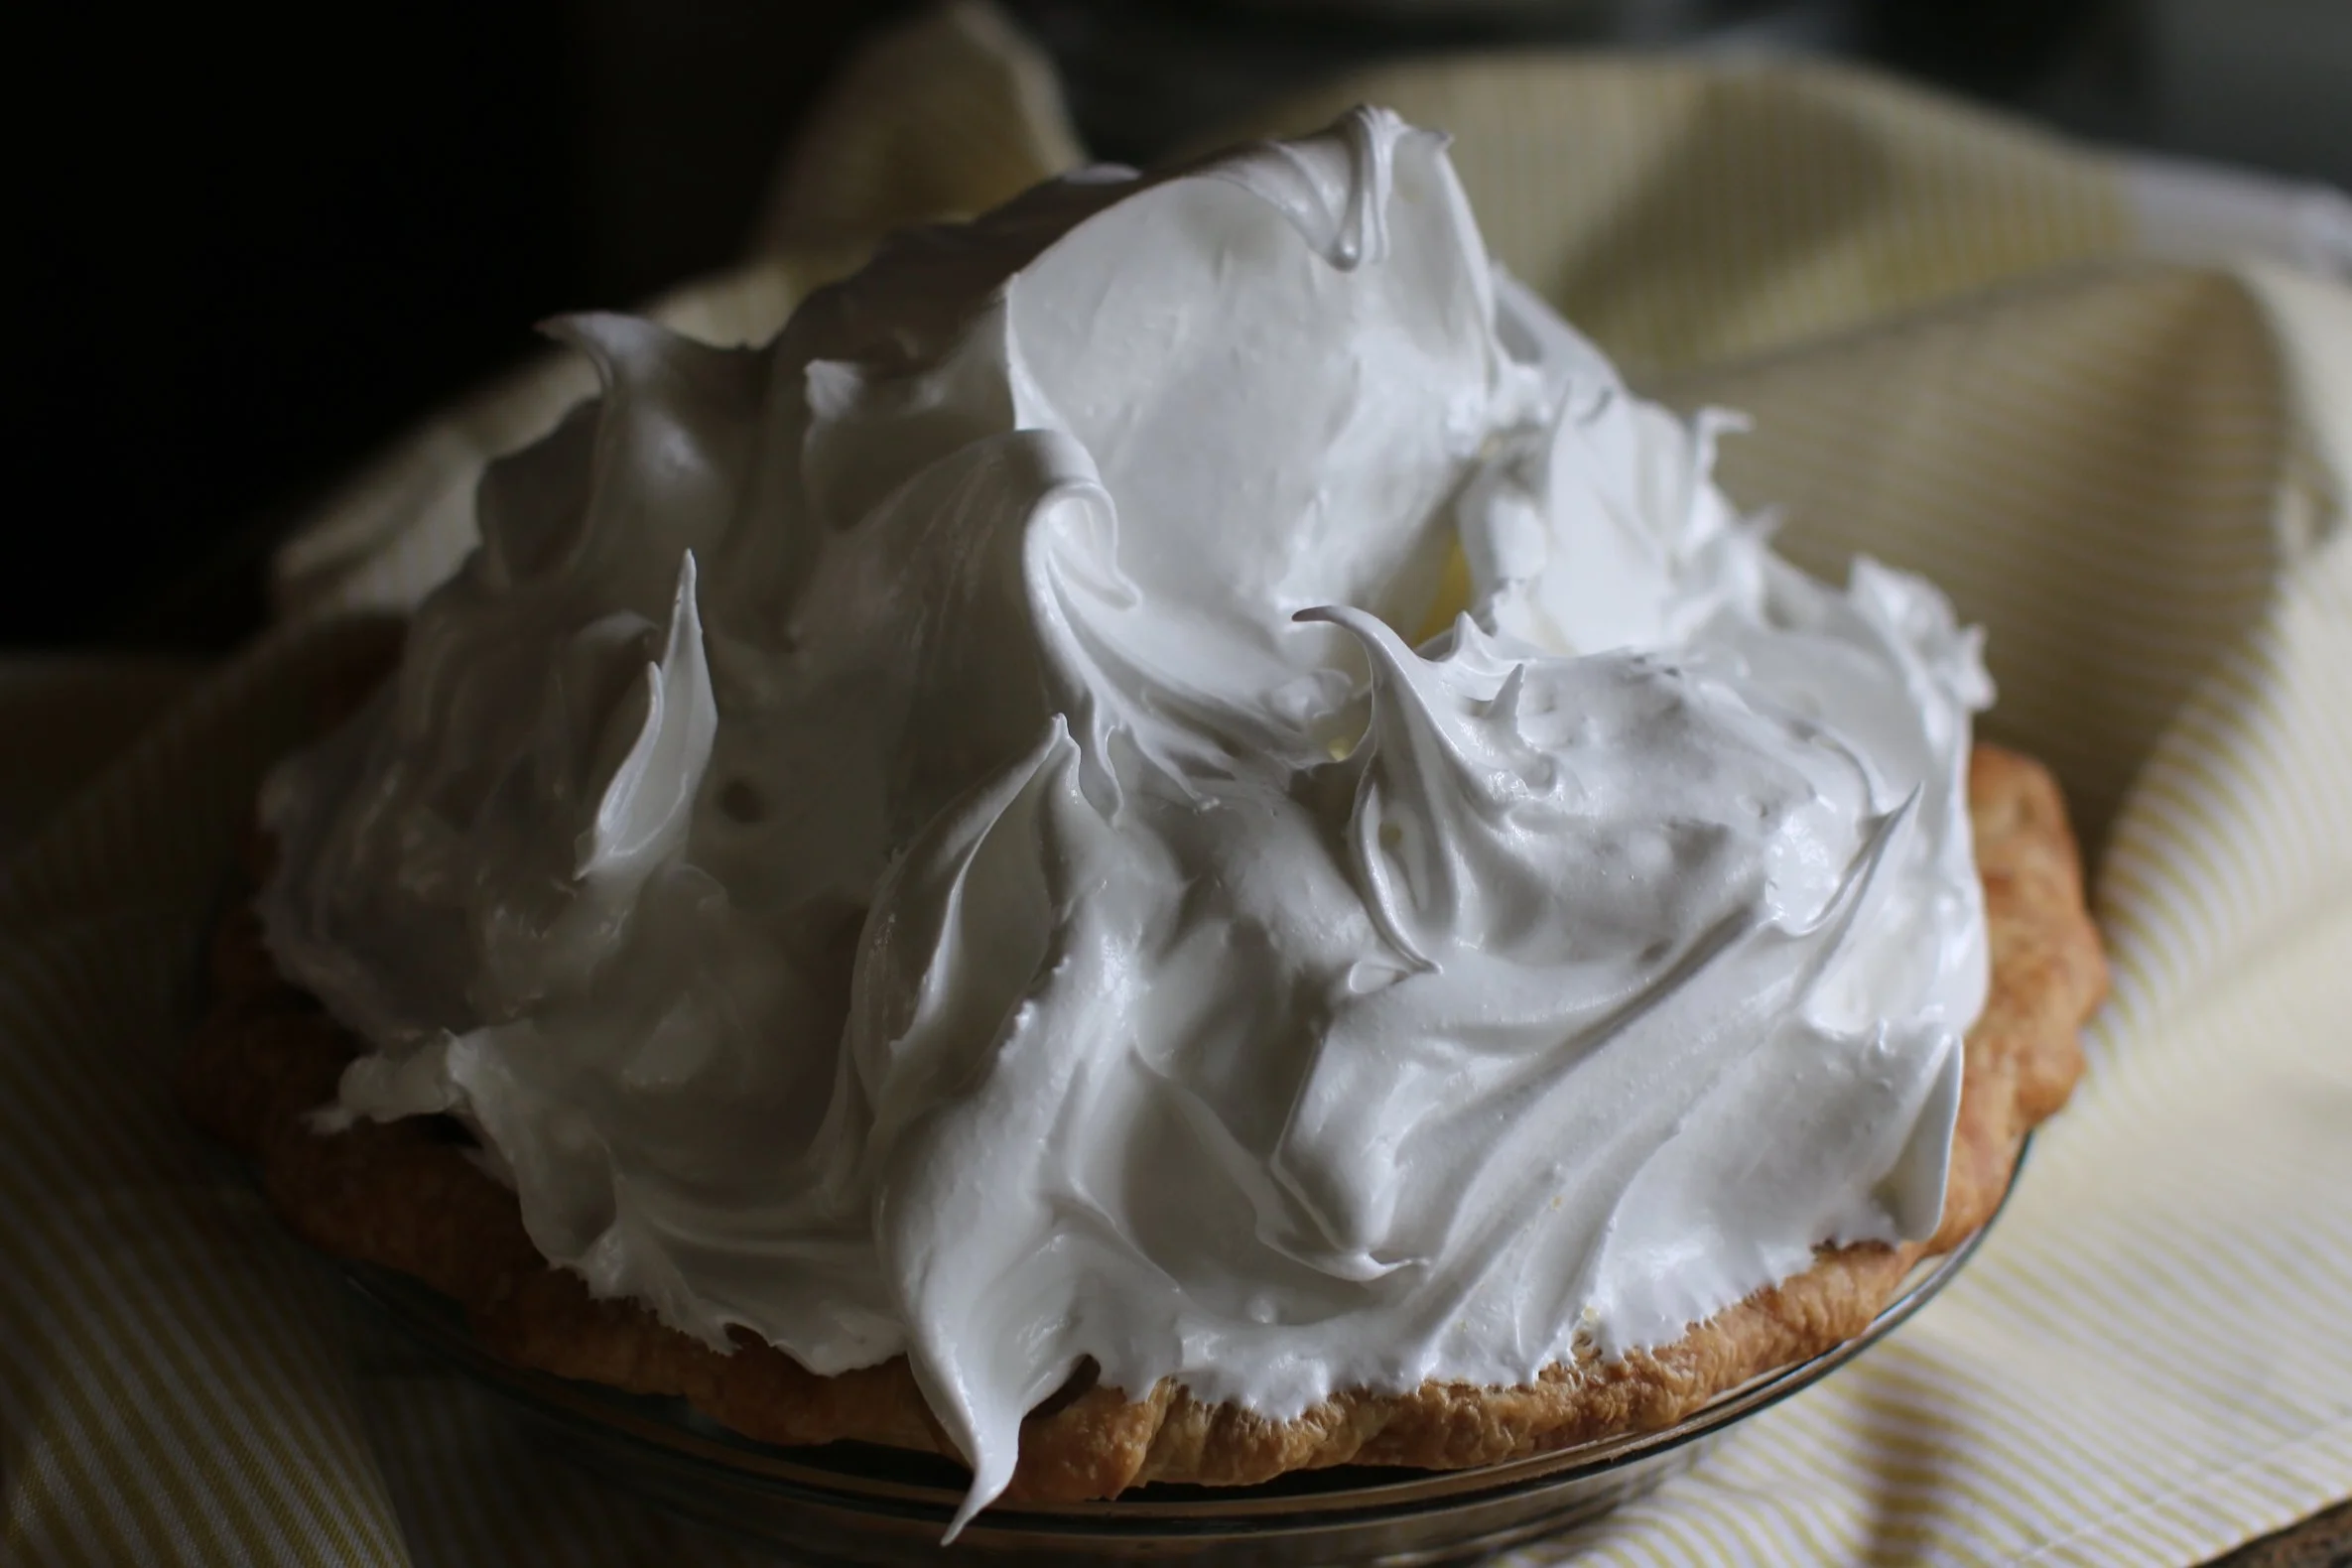
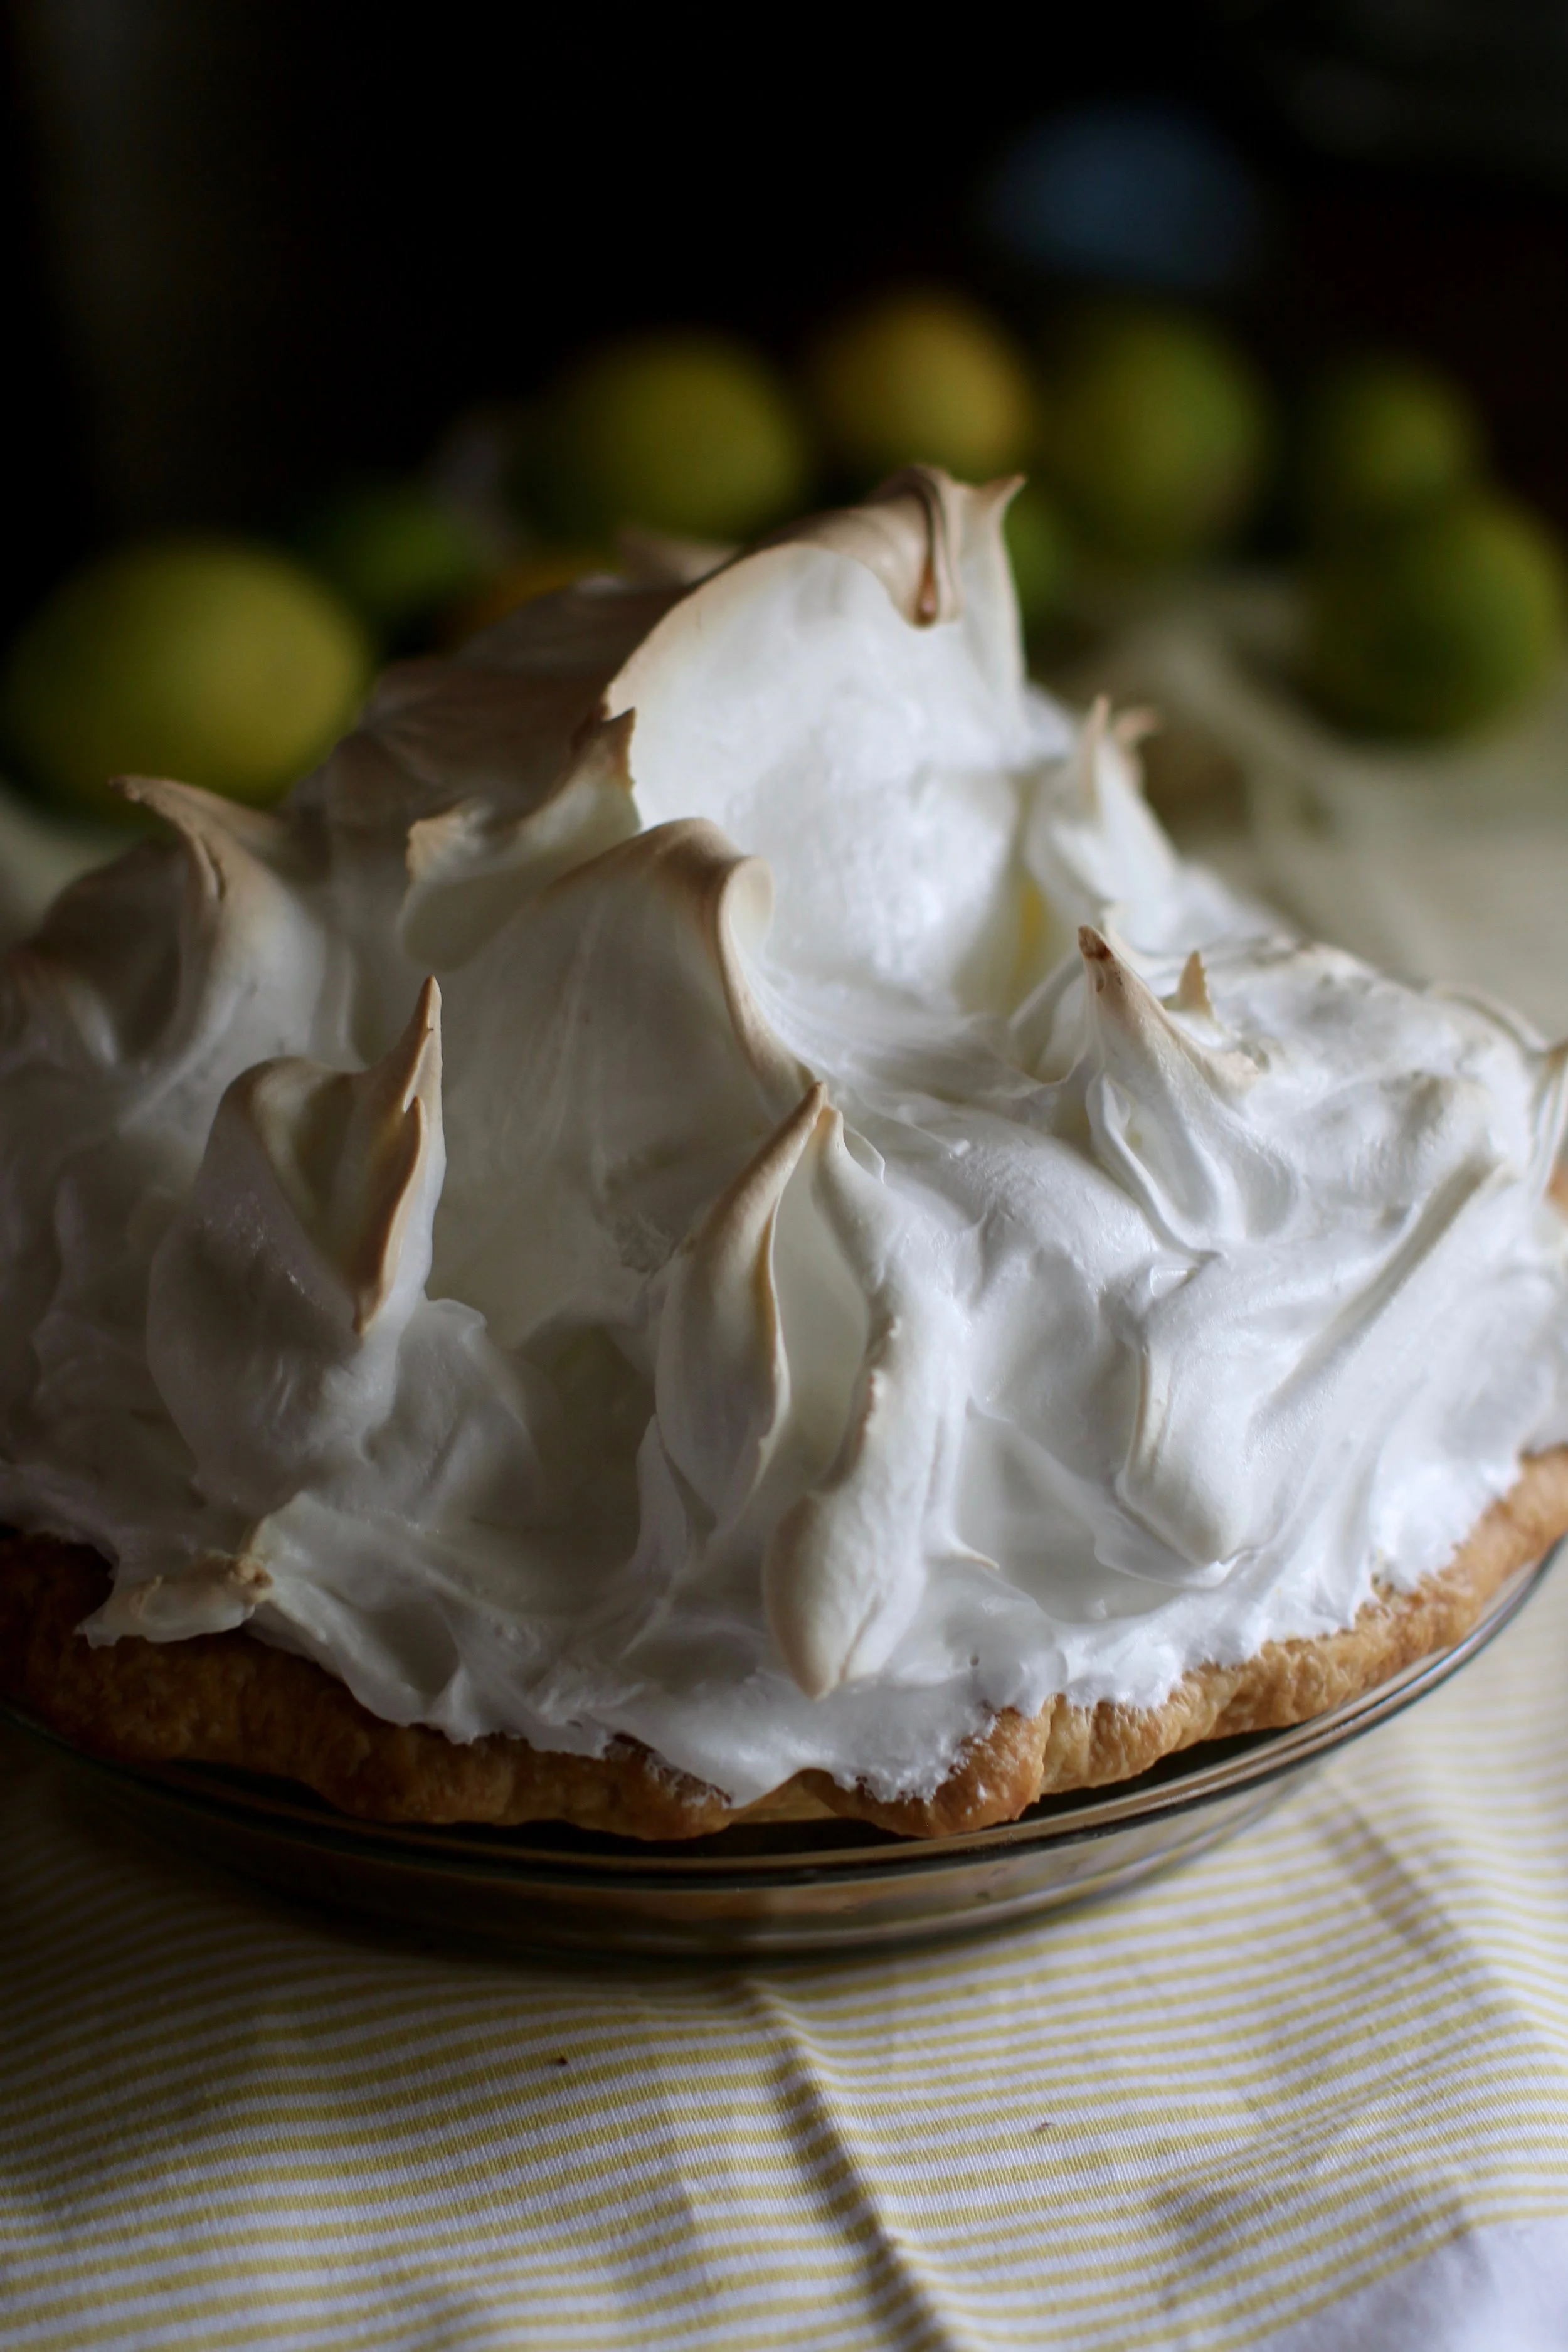
The meringue is another story. I was the hard one to please when it came to the meringue. I wanted a meringue that didn’t get weepy, those watery drops that develop on top when refrigerated. I also wanted a meringue that was tall and billowy with a marshmallow texture-- like the lemon meringue pie at Bistro Jeanty in Yountville, Ca. I compare all meringues to Bistro Jeany’s meringue.
This is where it gets technical. I’ve discovered that my previous attempts at meringue involved adding granulated sugar and cream of tartar directly to the egg whites and whipping them until stiff. The raw egg meringue was then dolloped onto the pie filling and briefly baked until there were a few brown spots on top of the meringue. Basically, the outer layer of the meringue was toasted, and the remainder underneath was raw. When this is refrigerated the raw meringue breaks down creating those brown droplets on top. Apparently, it doesn't have anything to do with dolloping the meringue on a cooled or heated filling, as I had previously thought. Yvette’s Law: If the meringue is raw it will eventually breakdown creating droplets on top of the meringue.
Stay with me here. I’ve developed a meringue recipe that utilizes granulated sugar to make an extremely hot syrup that is slowly added to the whipped egg whites, therefore; cooking the meringue. Therefore, becoming billowy and marshmallowy. Therefore, 95% as delicious as Bistro Jeanty’s meringue. (I had to leave room for improvement). Yvette’s Law #2: A properly cooked meringue will not breakdown and develop surface droplets.
That’s enough about the meringue. Trust me this dessert is fantastic! By the way, my Aunt Oldilia is thrilled to have a lemon meringue recipe that reminds her of her mother each time she prepares it. Let me know if you make this recipe. I’d love to see how it turns out so tag me on Instagram at y_delicacies or leave a comment below.

Lemon Meringue Pie
Servings: 8
Crust
1 of my pastry crusts, or make the following crust recipe:
1 ¼ cups all-purpose flour, plus more for work surface
½ teaspoons kosher salt
½ cup (1 stick) chilled, unsalted butter
¼ cup ice water
1 ½ teaspoons white or apple cider vinegar
parchment, dried beans or pie weights for blind baking the crust
Filling
4 egg yolks
1/2 cup flour
1 cup sugar
2 Tablespoons lemon zest
1/4 teaspoon salt
2 cups water
2/3 cup lemon juice
4 Tablespoons butter, sliced
Meringue
4 egg whites
1 teaspoon cream of tartar
1 1/2 cups granulated sugar, divided
1/2 cup water
1/2 teaspoon vanilla
Special equipment: candy thermometer
Crust
1. In a large bowl, whisk flour and salt together. Grate butter into the bowl, and toss to coat with the flour.
2. Stir ice water and vinegar together, and sprinkle over the flour mixture. Using your hands, combine the mixture until it forms pebble size pieces. Some of the flour will not be incorporated. Using your hands, rub while flattening the butter and the loose flour between your fingertips until all the flour is incorporated. If necessary, add 1 Tablespoon of water to incorporate the flour. Do not overwork dough.
3. Gather the dough and press into a ½ inch thick disc.
4. On a floured surface using a rolling pin, roll the disc into a 13-inch round. Gently wrap the dough around the rolling pin and transfer to a 9-inch diameter pie dish. Unroll and place the dough over hanging the pie dish.
5. Gently fit the crust into the bottom and sides of the pan with a 1 inch over hang. Fold edges under and decoratively crimp crust edge. Using a fork, poke holes on the bottom of the crust. Place pie dish in freezer until crust is firm, about 20 minutes.
6.Meanwhile preheat oven to 425°F. Line chilled crust with parchment leaving about a 1” overhang, and fill with pie weights or dried beans. Place pie dish on a baking sheet. On the bottom oven rack, bake until the crust is golden brown around the edges, about 15 minutes.
7. Remove the parchment and beans, and return the shell to the oven until the bottom of the crust is deep golden brown, 5-10 minutes. Set aside to cool.
Filling
1. Place egg yolks in a heat proof bowl, whisk and set aside.
2. In an unheated saucepan, whisk together flour, sugar, zest and salt. Add water and lemon juice and whisk to combine.
3. Turn heat to medium high, frequently whisking, cook just until the filling begins to bubble and the mixture thickens, about 5 minutes. Turn off heat.
4. While whisking yolks, add 3 Tablespoons of the filling, one Tablespoon at time, until yolks are tempered.
5. While whisking the filling, slowly pour in the tempered yolks, and whisk until well combined. Add butter and whisk until butter is melted and well combined. Set filling aside while preparing the meringue.
Meringue
1. Using an electric mixer with a whisk attachment on medium speed, beat the egg whites and cream of tartar until soft peaks form, 5-7 minutes. With the mixer running on low speed, slowly add ¼ cup of sugar.
2. Increase the speed to medium-high and beat until stiff peaks form, 8-10 minutes. Try to coordinate the timing of the egg whites reaching stiff peaks at the same time the following boiled syrup reaches 248°.
3. Meanwhile, in a small sauce pan fitted with a candy thermometer, whisk together remaining 1 1/4 cup sugar and water. Bring to a boil until thermometer reads 248°F, the firm ball stage. Pour syrup into a heatproof cup with a pour spout.
4. With the mixer running on slow speed, slowly pour the vanilla then the syrup in a steady stream in the space between the beater and the bowl, avoiding pouring onto the beater. Increase speed to medium-high and until the meringue thickens into a marshmallow like texture, 1-2 minutes. Immediately scoop onto pie filling.
Assembly
1. Preheat oven to 375°F.
2. Pour and evenly spread filling in baked pie shell. Dollop meringue on top, making sure to seal meringue to the edges of the crust so that it doesn’t pull away while baking. Draw meringue up into decorative peaks and swirls.
3. Place pie on a baking sheet and bake just until the edges of peaks and swirls are golden, 8-10 minutes.
4. Cool pie completely, about 3 hours. Chill uncovered until set, about 8 hours.
Do Ahead: Tightly wrapped pie dough that is formed into a disc can be refrigerate up to 2 days or frozen up to 1month. Baked and cooled crust can be stored at room temperature up to 1 day ahead. Filling can be cooked, cooled and chilled up to one day ahead. Pie can be completely assembled, and chilled uncovered up to 2 days ahead.

Here’s More
Banana Pudding with Toasted Meringue
Recipe coming in April